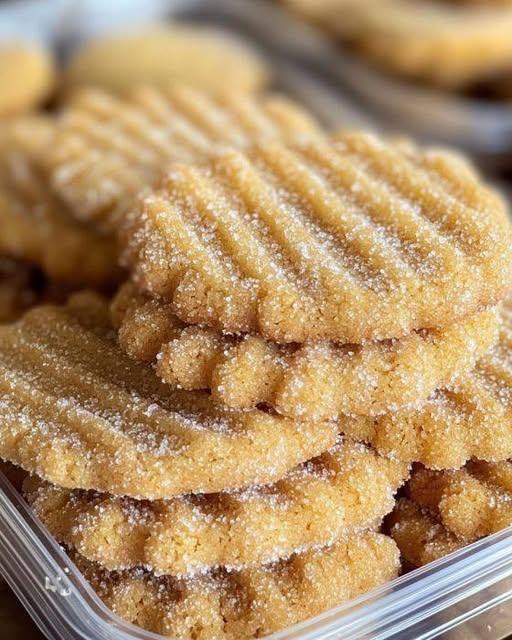
Ah! Washboard cookies are a delightful, visually striking treat. They’re called “washboard” because of the striped or layered appearance that resembles a washboard. Here’s a full recipe and explanation:
Ingredients
For the cookie dough:
- 2½ cups (315 g) all-purpose flour
- 1 tsp baking powder
- ½ tsp salt
- ¾ cup (170 g) unsalted butter, room temperature
- 1 cup (200 g) granulated sugar
- 2 large eggs
- 1 tsp vanilla extract
For the decorative stripes (optional):
- Cocoa powder (for chocolate layers)
- Food coloring if desired
Instructions
1. Make the dough
- Cream butter and sugar until light and fluffy.
- Beat in eggs and vanilla.
- Mix in flour, baking powder, and salt until a smooth dough forms.
2. Divide and color (optional)
- Split dough into portions.
- Add cocoa powder or food coloring to some portions for the “washboard” effect.
3. Shape the cookies
- Roll each dough portion into thin strips.
- Layer the strips side by side to create a striped pattern.
- Press gently with a fork or small rolling pin to create the washboard texture.
4. Chill
- Place shaped cookies on a baking sheet and chill in the fridge for 15–30 minutes. This helps them hold their shape during baking.
5. Bake
- Preheat oven to 350°F (175°C).
- Bake 12–15 minutes or until edges are lightly golden.
- Cool on a wire rack.
6. Optional finishing touches
- Dust with powdered sugar for contrast.
- Dip ends in chocolate for extra flavor.
Tips for success
- Keep dough cool; warm dough spreads too much.
- Uniform strip thickness helps the washboard pattern look neat.
- Use contrasting colors (chocolate + vanilla, or colored dough) for maximum visual effect.
If you want, I can also make a quick version of washboard cookies that doesn’t require coloring or layering but still has the classic ridged look—much faster and simpler. Do you want me to do that?
