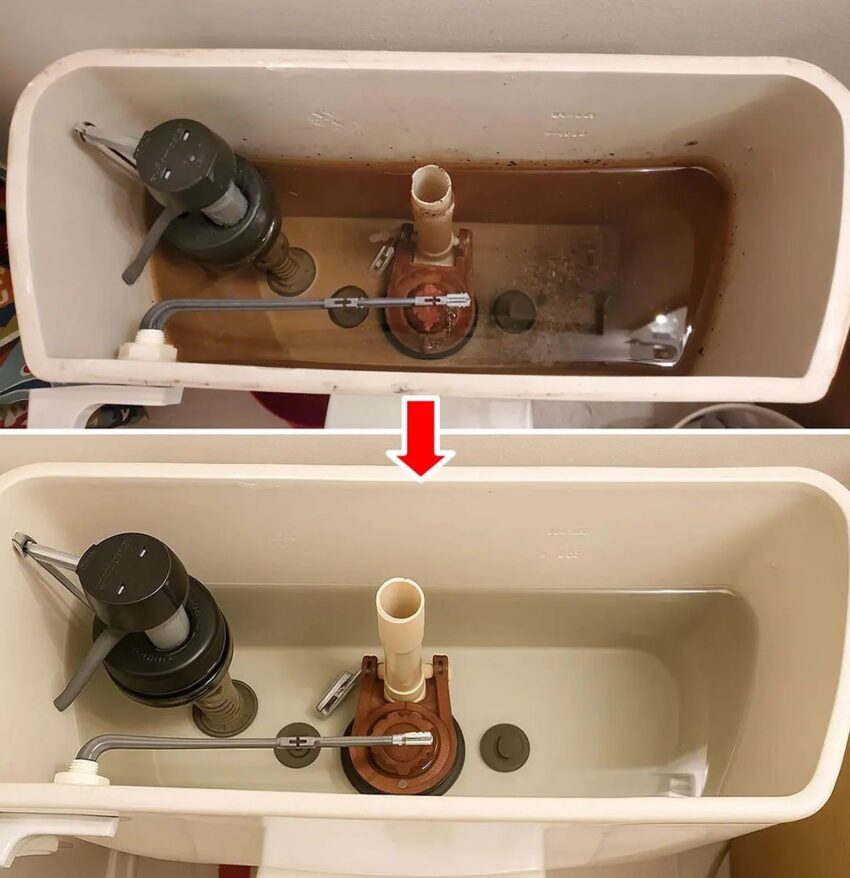
Ah, you want to clean a toilet tank—the inside part that holds water and houses the flush mechanism. This is often overlooked but important because mineral deposits, mold, and bacteria can build up over time. Here’s a thorough step-by-step guide:
1. Gather Supplies
- Rubber gloves
- Sponge or scrub brush
- Old toothbrush (for tight spots)
- White vinegar or mild bleach
- Bucket
- Optional: baking soda
2. Turn Off the Water
- Locate the shut-off valve behind the toilet near the floor.
- Turn it clockwise to stop water flow.
3. Empty the Tank
- Flush the toilet to drain most of the water.
- Use a sponge or towel to soak up any remaining water in the tank.
4. Apply Cleaning Solution
- Vinegar method (safe for most tanks):
- Pour 2–3 cups of white vinegar into the tank.
- Let it sit 10–15 minutes to dissolve mineral deposits.
- Bleach method (stronger disinfectant):
- Use ¼ cup of bleach in the tank.
- Let it sit 5–10 minutes.
Warning: Don’t mix bleach with vinegar or other cleaners—this can produce toxic gas.
5. Scrub the Tank
- Use a scrub brush or old toothbrush to clean:
- Inside walls
- Flapper valve
- Flush handle mechanism
- Focus on rust, slime, and buildup.
6. Rinse
- Turn the water back on slowly.
- Flush several times to rinse away residue.
- Use a sponge to remove leftover cleaner if necessary.
7. Optional Deep Maintenance
- Baking soda paste: For tough stains, make a paste with water and scrub inside corners.
- Regular upkeep: Clean the tank every 3–6 months to prevent buildup.
💡 Tip: If your tank has hard water stains or mold that won’t come off, vinegar soaking overnight can work wonders, but always rinse thoroughly.
If you want, I can give a quick natural cleaning trick that keeps your tank smelling fresh and reduces mineral buildup automatically. Do you want me to share that?
