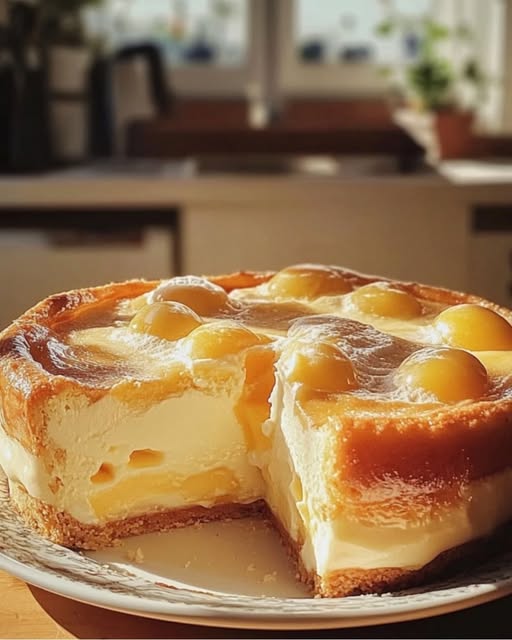
This cake is soft, moist, and lightly sweet, with a creamy texture from the yogurt. It’s simple, fuss-free, and doesn’t require butter or oil.
Creamy Yogurt Cake (with 3 yoghurts and 2 eggs)
Ingredients
-
3 individual plain yoghurts (about 125g or 1/2 cup each, totaling 375g or 1½ cups)
-
2 large eggs
-
1 cup granulated sugar (adjust to taste)
-
1½ cups all-purpose flour
-
2 teaspoons baking powder
-
1 teaspoon vanilla extract or lemon zest (optional)
-
Pinch of salt
Instructions
Step 1: Prepare the Oven and Pan
-
Preheat the oven to 350°F (175°C).
-
Grease and flour a 9-inch round or square cake pan, or line it with parchment paper.
Step 2: Mix Wet Ingredients
-
In a large mixing bowl, whisk the 3 yoghurts until smooth.
-
Add the eggs and sugar, and whisk until light and slightly frothy.
-
Stir in the vanilla extract or lemon zest if using.
Step 3: Combine Dry Ingredients
-
In a separate bowl, sift together the flour, baking powder, and salt.
-
Gradually add the dry ingredients to the wet mixture, stirring gently with a spatula or whisk until just combined. Do not overmix.
Step 4: Pour and Bake
-
Pour the batter into the prepared cake pan and smooth the top.
-
Bake for 30 to 40 minutes, or until a toothpick inserted into the center comes out clean.
-
The top should be golden and slightly springy to the touch.
Step 5: Cool and Serve
-
Let the cake cool in the pan for 10 to 15 minutes.
-
Turn it out onto a wire rack to cool completely.
-
Serve plain, dusted with powdered sugar, or with fruit or yogurt topping.
Tips
-
You can use flavored yoghurts (like vanilla or lemon) for a twist.
-
If the batter feels too thick, add 1 to 2 tablespoons of milk to loosen it.
-
For extra creaminess, replace 1/2 cup of yoghurt with Greek yogurt.
Storage
-
Store the cake in an airtight container at room temperature for up to 2 days, or in the fridge for up to 5 days.
-
It can be frozen for up to 1 month. Thaw at room temperature before serving.
